Will My Itunes Library Transfer To A New Mac
How to Move iTunes Library from Mac to Windows with iTunes. Step 1: Backup your iTunes library to an external hard drive or a USB at your Mac. Step 2: Click on your desktop to make certain you’re in the Finder. Step 3: From the top of the computer screen choose finder. How to Transfer iTunes Library to PC/External Drive 1 Manually Backup iTunes Library. There is always need for extra safety measures and file protection. PC, USB flash and other external drive can be used to back up your iTunes media library, and it is good in file protection.
You can also read this guide in Français.
For most of us, when it comes to transferring iTunes library, it’s not a big deal because iTunes manages the content of our iTunes library by default. The real problem surfaces when we need iTunes to offer us more control over contents, functions, file management and transfer.
Dec 11, 2017 Anyway, it is necessary to learn how to copy iPod songs to iTunes library for PC or Mac. If you search 'transfer iPod music to iTunes' in Google, there are tens of thousands of answers turn up that dazzle you a lot. Below are the two of those ways for your reference: 1. Sync Music from iPod to iTunes Library via iTunes. Running out of space on your Mac? Here's how to move your Mac's iTunes library to another location, whether it's another computer or an external hard drive. Oct 12, 2016 Step 5: Delete the old iTunes library. Once you have transferred a copy of your iTunes library onto an external hard drive and redirected iTunes to the new location, you can delete the iTunes folder on your local hard drive, freeing up space on your Mac. May 07, 2019 Here's how to transfer iTunes library to a new computer without the need to download extra software or go through hours of repetitive tasks.
We are also troubled when we lose existing media files when transferring or syncing files – this is the major problem with using iTunes in managing and transferring media files.
There are common problems that we encounter when we transfer iTunes library. Some of them include:
- Erasing previous songs on iDevice: This point has been the major complain of every iTunes user even users of the most current version. Apple claims that they have corrected this abnormality with the release of iTunes 12, but we know that Apple’s copyright protection won’t allow that to happen. Your iTunes library files won’t be deleted when syncing only when your iTunes library have all the songs on your iDevice.
- iTunes is confusing/complicated at a first glance: iTunes is no longer “That Simple Music Player” app anymore. It is now complicated with different functionalities and uneasy to navigate interface. Most users at the first day find it very hard to transfer files with iTunes.
- iCloud Music Library: iCloud Music Library is a major source of headache in latest versions of iTunes. Many of us pay for iTunes Match at the cost of $25 per year, but all we get to receive are faulty artwork display, matching blunder, missing duplicates, and files with DRM.
The good news is that all these pains are avoidable with some iTunes alternative software or by having the right tips on transferring iTunes library.
- Part 1: How to Transfer iTunes Library to iPhone
- Part 2: How to Transfer iTunes Library to PC/External Drive
How to Transfer iTunes Library to iPhone
“How do I transfer iTunes library to iPhone” is a common question on every search device. But it’s very easy to accomplish if you have the right tips. You can transfer iTunes music library by simply dragging and dropping files from iTunes to iDevice, or through other third-party tool.
1 Transfer Via iTunes
This method is not the same as syncing method, it is a manual process of copying contents from iTunes to iPhone. To smoothly transfer your iTunes library to iPhone, here are some easy steps to follow:
Step 1: Connect your iDevice to your PC using USB cable.
Step 2: Do you have the latest iTunes? If not, download and install the latest iTunes.
Step 3: Choose the content you will like to transfer from your iTunes library.
Step 4: From the left side bar of your iTunes, drag the content, and drop it on iPhone.
- This method only allows you to add music or vide to your iPhone from a single iTunes library.
- Direct iTunes library transfer is slow, erroneous and mat lead to iTunes crash.
- You may lose your files in the process.
2 Transfer iTunes Library via iMyFone TunesMate
iMyFone TunesMate is an iTunes library manager, transferring iTunes library via TunesMate is very easy and simple to complete. For everyone who is not comfortable with iTunes limit, you should install TunesMate because it has no iTunes limit. Python library list. You should not be worried about damage to your iTunes library because TunesMate will not lose or damage your library.
Key Features of iMyFone TunesMate
- 100% successful sync: When syncing iOS files between iPhone and iTunes, TunesMate safeguards your files knowing fully well that they are precious to you.
- 2-way sync: With iMyFone TunesMate, you can freely transfer iTunes library from iTunes to iPhone or from iPhone to iTunes.
- Preview and selectively transfer: You can choose to transfer your files in bulk, or selectively. TunesMate makes this choice available!
- No erasure: TunesMate can retain your old iPhone data, while adding the recent ones to your iPhone, without erasing any original data on your iPhone.
- No iTunes limits: You can easily transfer both purchased and non-purchased music between iTunes and iPhone.
In fact, many users, IT pros, and iPhone lovers see iMyFone as the most comprehensive iOS solution of all times.
Transfer iTunes Library via TunesMate – Required Steps.
Step 1: Open TunesMate on your PC. If you have not downloaded TunesMate, you can download and install it on your PC now. Then connect your iPhone to your PC using your USB cable.
Step 2: From Tunesmate user interface, click on “Transfer iTunes Media to iDevice”.
Step 3: Click on the “Start ” button and select files that you’d like to transfer.
Step 4: Begin to transfer your files by clicking on “OK”.
How to Transfer iTunes Library to PC/External Drive
1 Manually Backup iTunes Library
There is always need for extra safety measures and file protection. PC, USB flash and other external drive can be used to back up your iTunes media library, and it is good in file protection.
Most iTunes users do this due to the level of unreliability of iTunes in file syncing and transfer. But to transfer iTunes library, you’ll have to locate your iTunes media library in your PC.
To locate where iTunes stored the media files you added to Windows or Mac PC, you will need to follow the appropriate path listed below.
- For Mac: Click on Music > iTunes Media > Music
- For Windows: Click on Music > iTunes > iTunes Music
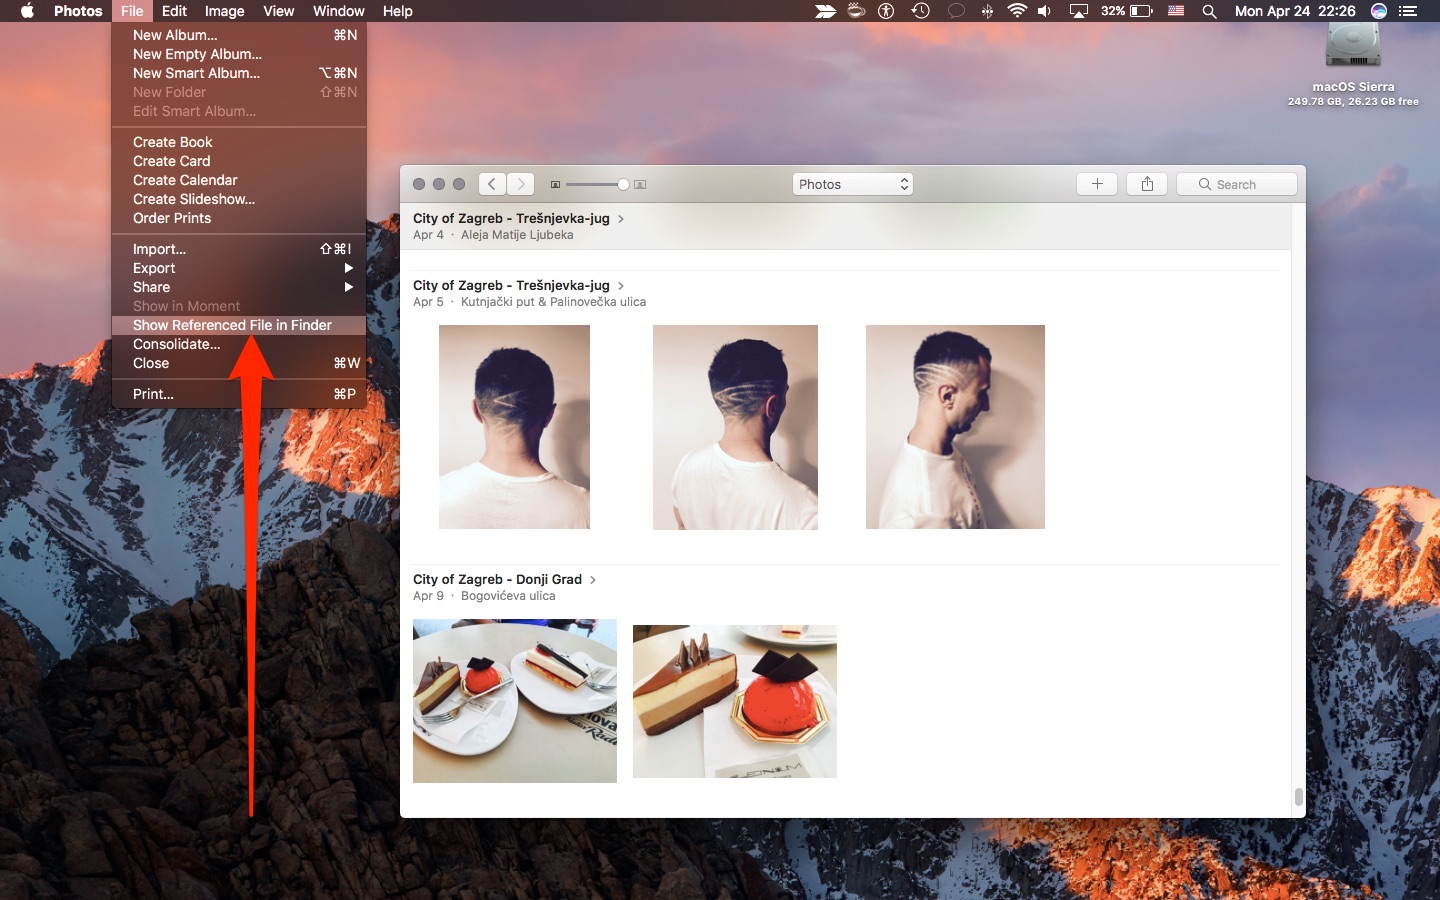
If the folder isn’t in the default location: Open Advanced tab from iTunes > iTunes Media Folder Location. This would show you where the media folder is located.
More so, to copy iTunes songs to USB (for example, copy iTunes songs to USB), you will have to follow the appropriate path listed below:
Step 1: insert the flash drive into your PC’s USB port.
Step 2: Open the USB flash drive like a folder on your PC. Then, go back to the songs you would like to backup and highlight them. You can highlight a range of songs, individual songs or all songs in view.
Step 3: Drag the highlighted songs to the USB flash drive folder you’ve already opened.
2 Transfer iTunes Library using TunesMate
You can easily backup your iTunes library using iMyFone TunesMate. This can serve as a good way of backing up your iTunes library in a safer storage device. Follow these steps to transfer your iTunes library via TunesMate.
step 1: Download and install Tunesmate on your PC.
Step 2: Connect your iPhone and USB to your PC, and run TunesMate on your PC.
Step 3: Go to “Music” tab, and click on “Export > Export to PC”.
Step 4: Locate the folder that you want to backup these files and click on “Select Folder” to export the data.
You may also like:
Want to learn how to get all of your iTunes music tracks on your shiny new iPhone X/XS (Max)/XR? This guide shows how to sync songs from iTunes to an iPhone using the simplest way available.
iTunes Backup & Transfer Tips
Transfer from iTunes
Transfer to iTunes
Transfer without iTunes
iTunes Backup Password Problems
iTunes Backup Content
For most Apple users, iTunes has been a place where they have kept their favorite songs as the app makes it easy to organize and play music on both Windows and Mac machines. The reason most users prefer to use iTunes for their music management is that it allows you to easily sync songs with your iPhones.
When you get a new iPhone X or iPhone XS (Max)/XR, you can just launch the iTunes app and have it sync all of your songs with your device. Soon as it’s done, you can play your favorite music tracks on your iPhone. If you’re new to this and wish to learn how to sync music from iTunes to the iPhone X/XS (Max)/XR, the following sections will help you out.
AnyTrans – iPhone Music Transfer
Want to transfer music from iTunes to your new iPhone XS (Max) or iPhone XR? This article is intended to show you two ways to transfer sync music from iTunes to iPhone. Keep reading on this post to learn more.
How to Sync Music from iTunes to iPhone X/XS (Max)/XR with iTunes
If you have just bought a new iPhone XS (Max)/XR and there are no music tracks on this, then you should prefer this method as it will ensure all your songs are synced and nothing gets lost. However, if you already have a few music tracks on your iPhone X/XS (Max)/XR and you wish to keep them, then skip to the second section given below.
Step 1: Open the iTunes app on your computer. If you are on a Windows PC, double-click on the iTunes icon on your desktop and the app will launch. If you are on a Mac, use your launcher to launch the iTunes app.
Step 2: Connect iPhone X/XS (Max)/XR to your computer using a USB cable. iTunes will recognize your device and then click on the device icon in the app.
How to Sync Music from iTunes to iPhone X/XS (Max)/XR with iTunes – Step 2
Step 3: When you can see options for your device in the left panel, click on the option that says Music. Then, checkmark the Sync Music option and select Entire music library if you want to sync all of your songs. Otherwise, checkmark the ones you want to sync and click on the Apply button.
How to Sync Music from iTunes to iPhone X/XS (Max)/XR with iTunes – Step 3
Depending on how many songs you have, it will take from a few minutes to half an hour to get all of your files synced. You will be notified once iTunes finishes syncing your music files.
While iTunes works great to help you keep your songs in sync, it falls short at one thing: if you already have music files on your iPhone, those will be erased before the new files are synced. If you wish to keep the existing files, you can’t sync your music library with iTunes and you’re kinda stuck as there really is no other official option. However, there’s an app that helps you do it.
How to Sync Music from iTunes to iPhone X/XS (Max)/XR without Wiping Data
For those of you who can’t live without their existing songs on their iPhones, you have an app called AnyTrans for iOS that lets you sync your songs without having to erase any data on your iPhone XS.
AnyTrans for iOS is an app that allows you to manage and sync content between your computer and your iPhone X/XS (Max)/XR. With regard to music syncing, it’s fast, efficient, and gets the job done with minimum hassle. You can have up to 3000 songs transferred to your iPhonein just a matter of five minutes. Not only does it help sync music but it also helps transfer a number of other file types to your and fro your iOS device.
The following is how to sync music from iTunes to iPhone X/XS (Max)/XR without wiping data using AnyTrans for iOS:
Free Download * 100% Clean & Safe
Step 1: Connect your iPhone X/XS (Max)/XRto your computer and launch the AnyTrans for iOS app on your machine. Click on the icon that says iTunes in the app.
How to Sync Music from iTunes to iPhone X/XS (Max)/XR – Step 1
Step 2: On the following screen, click on the tab that says Music (it has a music icon) and you will see all of your iTunes music files listed on your screen. Checkmark the songs you want to sync to your iPhone X/XS (Max)/XR and click on the To Device button at the top-right corner as shown below.
How to Sync Music from iTunes to iPhone X/XS (Max)/XR – Step 2
Your iTunes music tracks should immediately be available on your iPhone X/XS (Max)/XR as the app does the job faster than the iTunes method.
The Bottom Line
We all love music and it should not be hard to sync music from iTunes to your iPhone X/XS (Max)/XR. You have got two methods to sync music with your iPhone X/XS (Max)/XR and both of them have their own advantages. Go with the one that you think is good for your requirements and you will have your entire music library available on your iPhone in no time. Just get this tool and have a free trial now >
More Related Articles
Will My Itunes Library Transfer To A New Mac Computer
Product-related questions? Contact Our Support Team to Get Quick Solution >